

Cargo Trouser Pockets: Placement and Reinforcement Checks
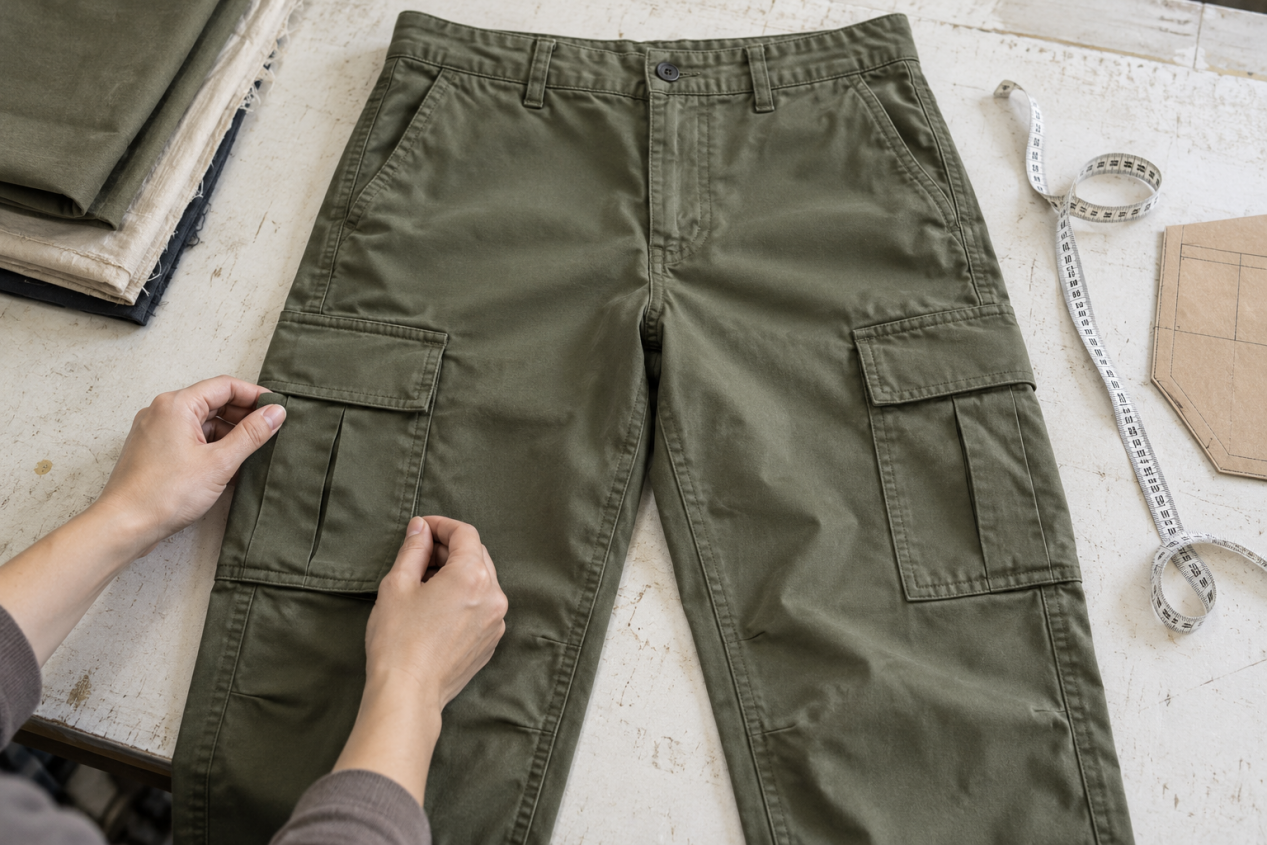
Move both pockets up by 2 cm.
Sounds simple. But before anyone touches the pattern, ask why. Do the pockets sit too low? Hard to reach? Or does the bottom edge dig into the knee when the wearer sits?
Because those are three different problems. Sometimes the pocket really does need to move. Sometimes the rise is off, or the leg is too tight — and nudging the pocket up just papers over the real issue.
For a brand developing cargo trousers, what matters is whether the pocket works on a real body. Position, usable space, flap coverage, attachment — check them together, not one by one.
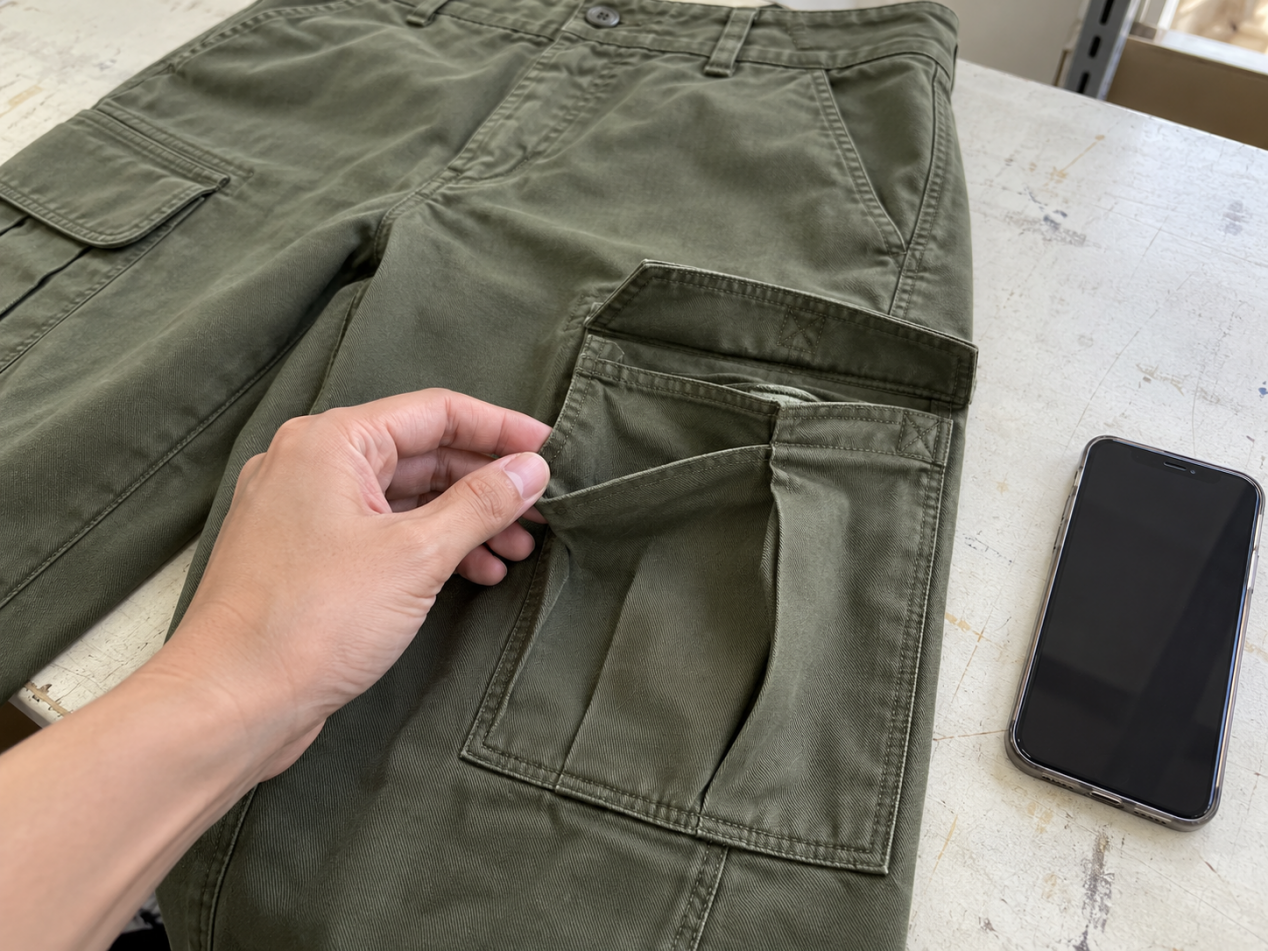
A photo is fine for approving the general look of cargo trouser pockets. It’s on the physical sample that the sneakier problems show up.
Get the Trouser Fit Right Before Moving the Pockets
Get the sample on the waist properly first. Not where it happens to land — where it’s meant to sit. Because if the waistband’s heading south, the pockets go with it, and then everybody swears they’re sewn too low when they’re not.
Rise next. Hip and thigh. And don’t ignore the side seams — a twisting leg drags the pocket round to the front, and no placement spec in the world will catch that.
Judge the pockets only after the trousers behave. Front, side. Then get the model walking, sitting, knees bent.
Where does the pocket fold? Opening sunk into the hip crease means trouble every time the hand goes in. Sitting on it low means it’s going to fight the knee.
Last, put your own hand in there, standing and sitting. If something feels off, write down what exactly is in the way before you start shifting anything.
The rest of the design counts too. On women’s wide-leg cargo pants, the pocket has to share space with the front pleats and all that volume in the leg. Shift it forward and more of it shows from the front. Shift it back and it looks cleaner — but the opening gets harder to reach.
There’s no magic pocket height that works for every women’s trouser design. Approve the position on a real fit, then turn that into clear measurements.
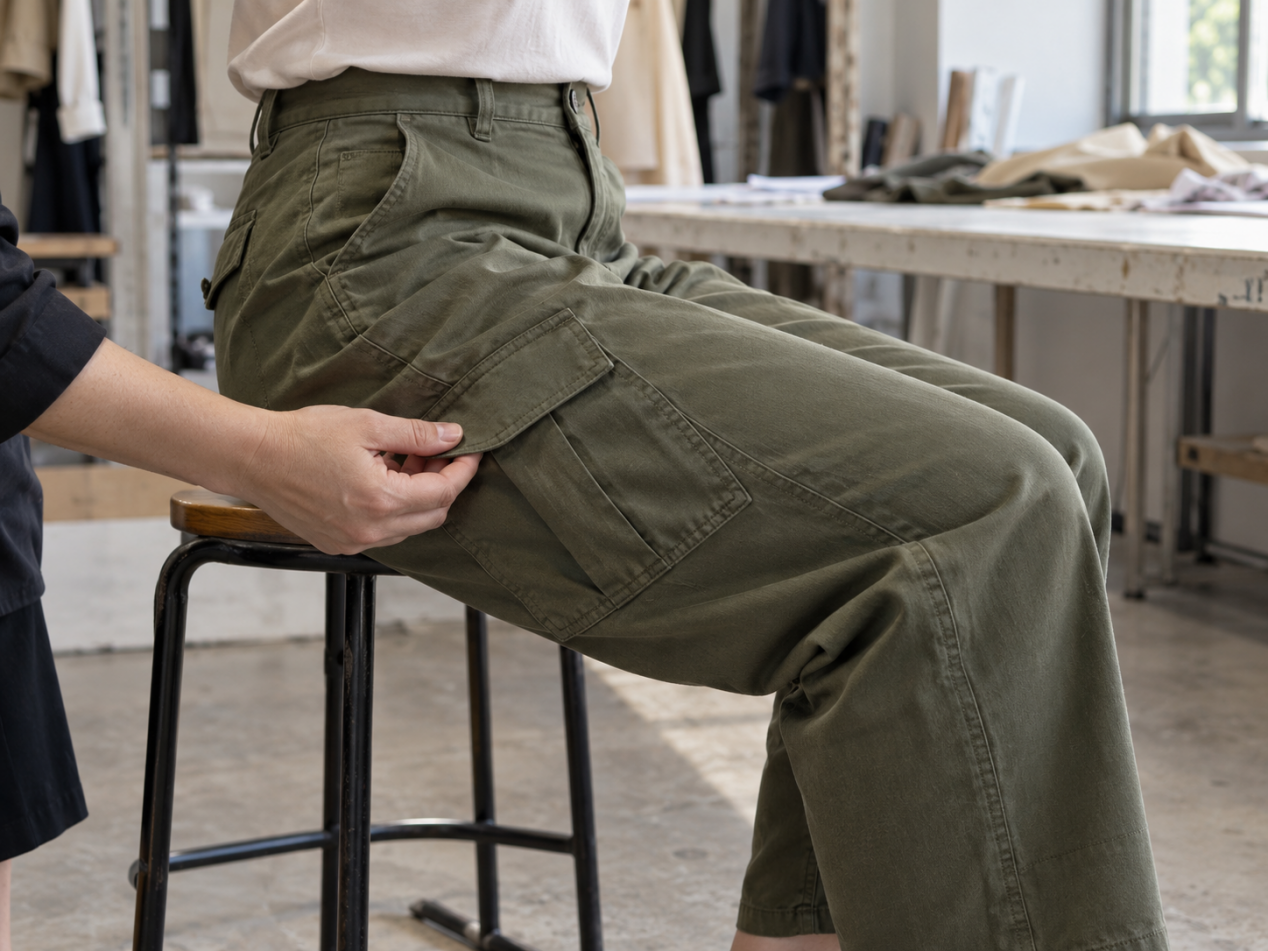
Make the Placement Comment Clear Enough to Sew
Raise the pocket” gets the point across in a fitting. But that instruction dies on the next sample unless it turns into numbers.
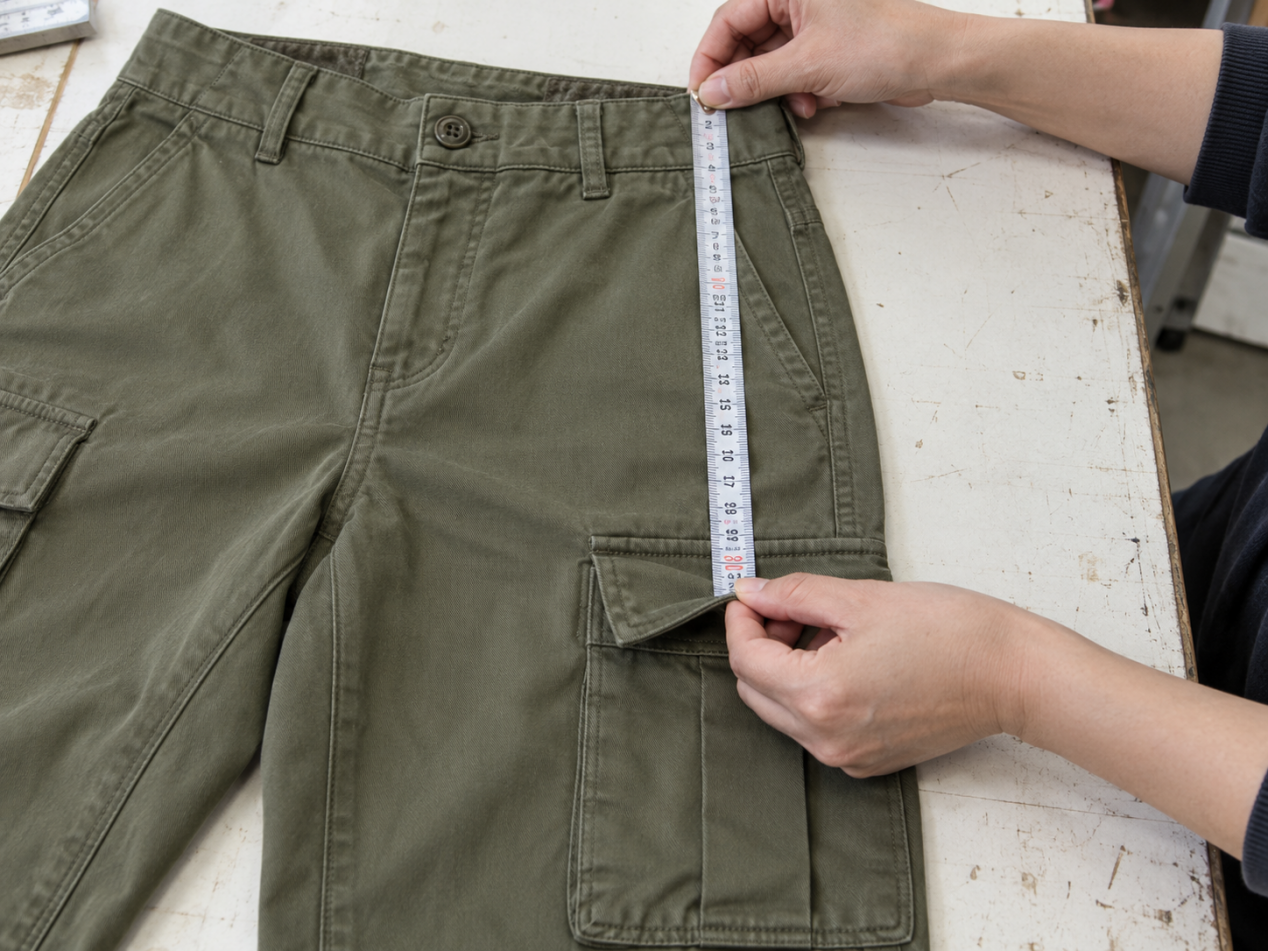
So for cargo pocket placement, name your reference points first. “Below the waistband” isn’t one measurement — from the top edge and from the joining seam are two different numbers.
Same at the pocket end. Does the measurement stop at the flap attachment, or at the pocket opening? They can sit centimetres apart. A number with no drawing is just an invitation to guess.
A marked-up photo solves most of this. Arrows on, sample size noted — especially if your comments also touch the rise or waistband, since everything shifts together.
For sideways placement, show where the pocket sits against the side seam. If it crosses the seam, mark how much lands on the front panel and how much on the back.
And measure each leg on its own, garment flat and relaxed. If the design is symmetrical, compare the pocket angles and the lower corners — not just the distance from the waist.
The sheet itself can stay simple. It just has to let someone else sew the same thing twice.
| Detail | What to record |
| Pocket height on the leg | Named waistband reference to the pocket opening or flap attachment |
| Position around the leg | Side seam to a clearly marked pocket edge |
| Finished pocket size | Width and height after folding and sewing |
| Opening | Usable opening width, measured as shown on the drawing |
| Flap | Finished width, depth and position over the opening |
| Pleat or gusset | Fold depth and intended expansion |
| Fastening | Position of the snap, button or other closure |
Keep the agreed tolerances with these measurements. If the design has different pockets on each leg, specify each one rather than asking the sewing team to match them.
Put the Intended Item Inside the Pocket
Before anyone talks pocket size, agree on what it’s supposed to hold. A pocket that’s mostly there to look good has a completely different brief from one expected to carry a phone.
If a phone is part of the design, grab the actual phone — case and all. Test the sample with it in your hand, not with the pocket pattern’s measurements on paper.
It should go through the opening without a fight. Once in, it should sit at the depth you designed and leave the flap able to close.
Then take it back out. A phone that slides in but catches under the edge coming out is a different problem from a pocket that’s just too shallow — don’t confuse the two.
Got a gusseted pocket? Open the folds and look inside. Make sure the attachment stitching hasn’t pinned down a fold that was meant to expand.
Then do the whole fitting again with the pocket full. Watch what the weight does — does it drag the leg down, pull the opening off the thigh, put visible strain on the lower attachment?
For everyday use, any regular item works for checking access and shape. But if the project specs a carrying capacity, agree the load, the test method and the pass/fail criteria separately — that’s a different conversation.
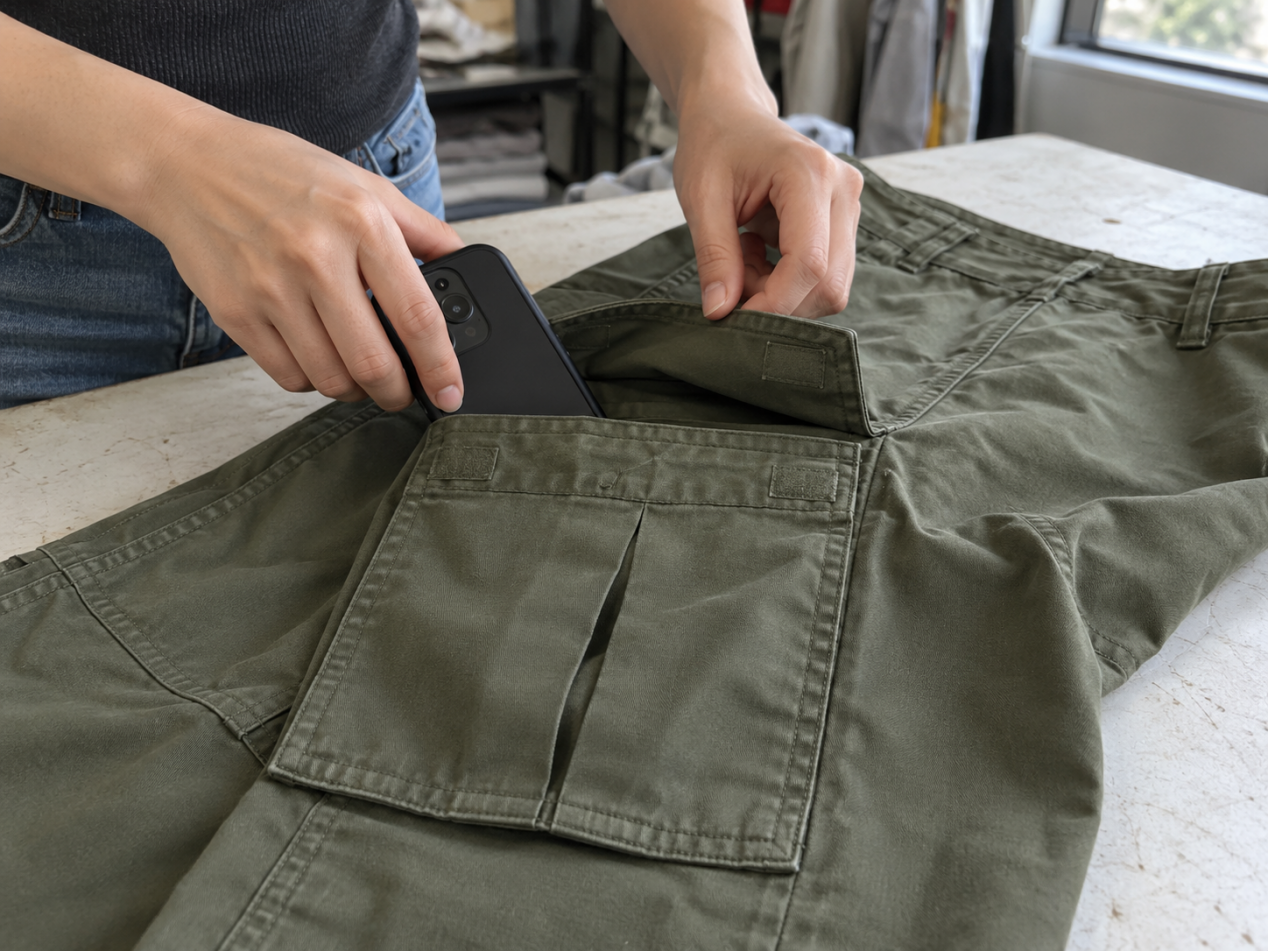
Close the Flap With the Pocket Filled
An empty pocket always photographs nicely. Press the flap flat and it sits there looking perfect.
Now open it, stuff it, close it again. That’s the view that matters — flap depth, coverage, where the fastening lands.
Check the two upper corners of the opening. If one stays exposed, look at the flap shape and the angle it’s attached at before you jump to making the whole thing bigger.
And if the flap pulls tight across the contents, the pocket itself might be the problem. A deeper flap won’t save a pocket that was too small from the start.
Then do up the fastening with the trousers actually on. A snap that’s easy on the table can be a pain to line up at the side of your thigh.
Watch the fabric around it when you open it. If the cloth stretches or distorts before the snap pops, the fastening — and whatever’s behind it — needs another look.
Button closure? Make sure there’s room to work it comfortably. Hook-and-loop? Check the alignment and any edges that could catch the surrounding fabric.
And keep the original look in your head the whole time. A bigger, stiffer flap might fix the problem you were chasing — while quietly wrecking how the pocket hangs.
Follow the Strain Around the Pocket Opening
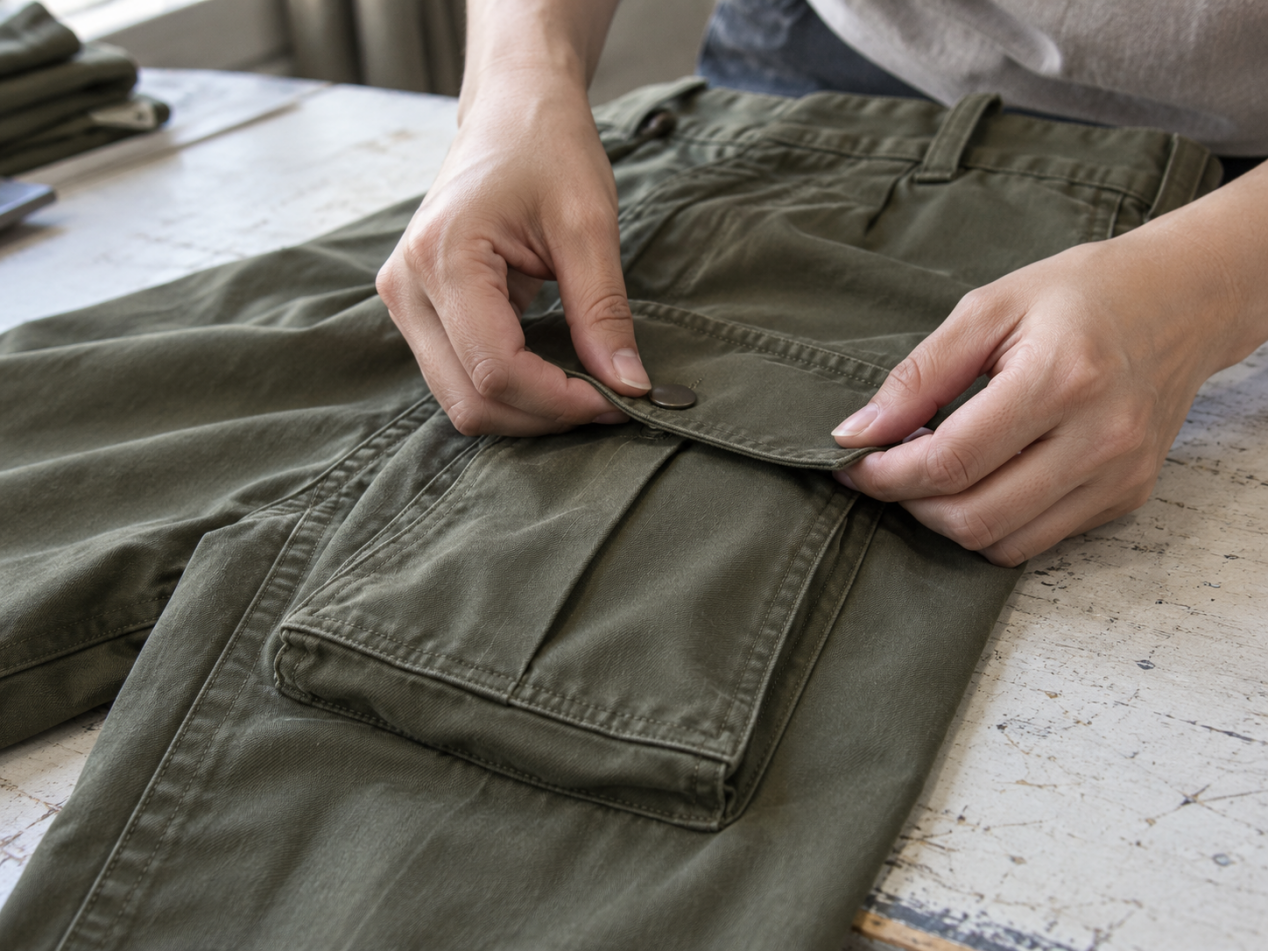
Start where the hand actually goes in — the two upper corners of the opening. That’s where the pull happens every single time. Look at how those corners meet the trouser panel, then flip the garment over and check the back.
For cargo pocket reinforcement, a visible bar tack is only half the story. It has to catch the right layers and hold the area that’s being pulled — not just look busy.
You’re looking for missed stitches, loose threads, corners starting to lift when the opening is worked. Check the flap attachment on its own too, especially right where the closure gets that firm tug to open.
If there’s backing inside, ask to see exactly where it sits. Its material and size go on record — so production repeats it instead of guessing.
A weak opening corner and an unsupported snap are two different problems. Mark each one separately. “Make all pockets stronger” tells the sample room nothing.
Check What the Bar Tack Is Doing
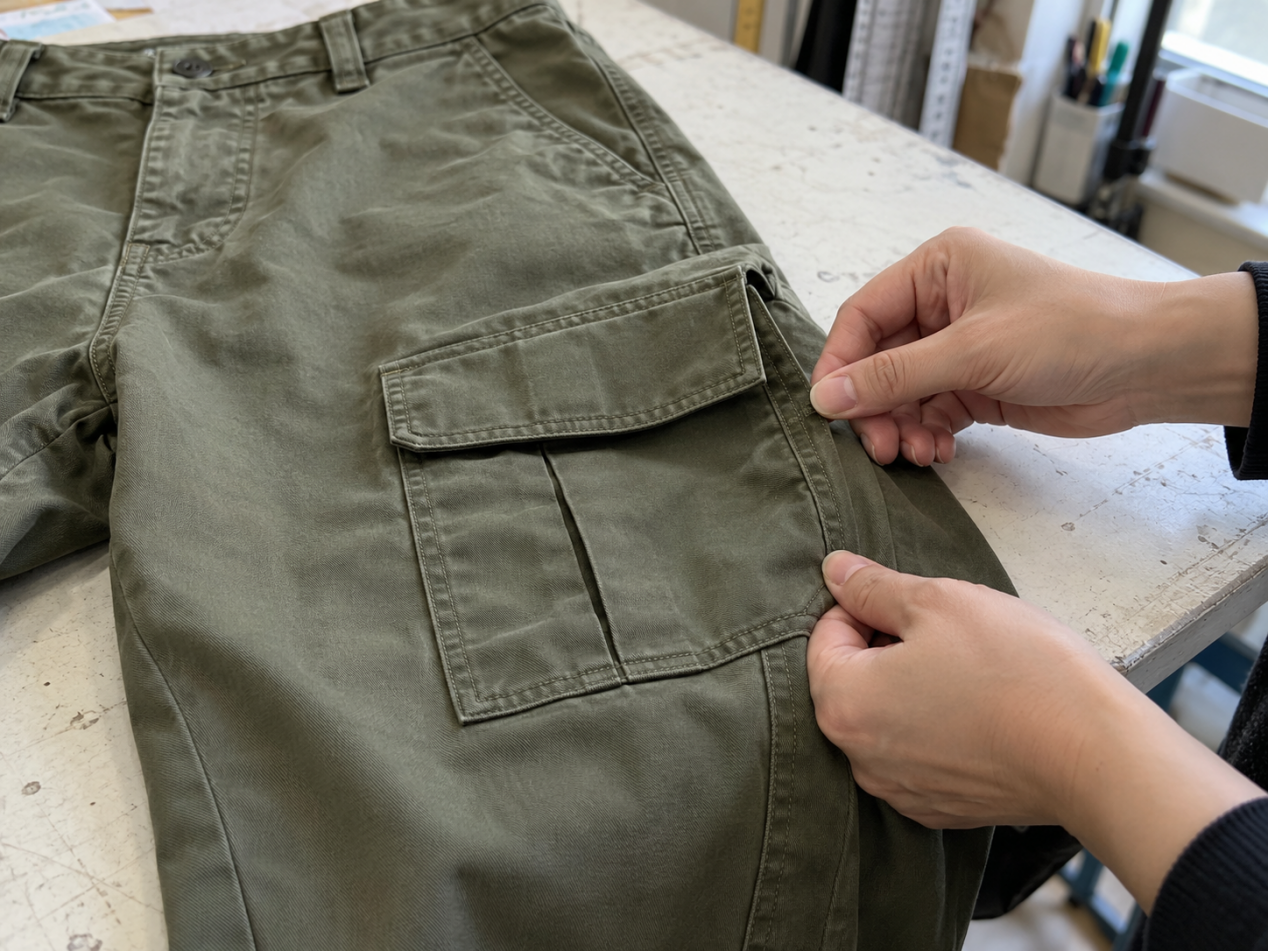
A bar tack is there to do a job. So on the sample, first find the stress point it’s meant to secure — and check it’s sitting exactly where the approved construction says it should.
A dense little block of stitching looks reassuring, sure. But how it looks isn’t how it performs. Look at the fabric around the stitches just as hard as the stitches themselves.
You’re watching for puckering, holes opening up, damage starting next to the reinforcement. Also make sure the bar tack hasn’t eaten into the usable opening, or pinned down a fold that needs to move.
If someone proposes a different reinforcement pattern, judge it on the sewn pocket — not on a scrap. Layer count and the shape of the attachment decide which method actually suits the detail.
Review the Sewing Again if the Fabric Changes
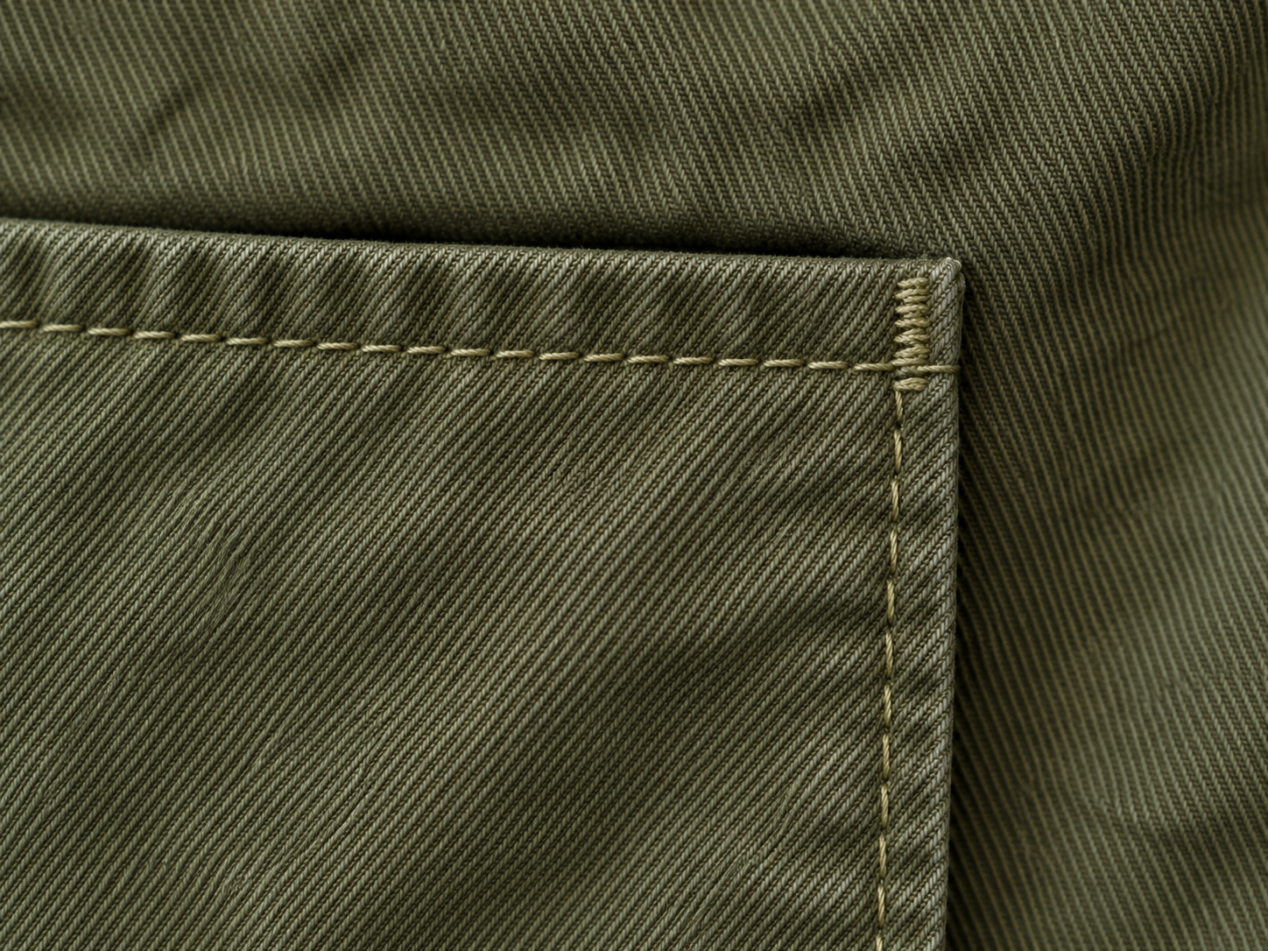
A pocket that passed in firm twill isn’t automatically approved if the order switches to lightweight nylon or a softer stretch woven. Same pattern, sure. But the attachment can behave like a different detail entirely.
On a light fabric, that reinforced corner can pull the surrounding panel into wrinkles. On something soft, backing that hid quietly in the first sample can suddenly show through — or make the whole pocket feel like cardboard.
If the area puckers, don’t pile on more stitches. Get the sewing team to look first. Thread tension, needle and thread size, stitch density, how the fabric feeds — any of them can be the culprit.
Pressing may improve the presentation temporarily. Check whether the area remains smooth after handling and after the agreed washing process.
For stretch fabrics, review the pocket during movement. Pay particular attention where a relatively rigid attachment sits across an area of the trouser that needs to stretch.
If the first sample used substitute fabric, keep that fact visible in the approval notes. It can help establish the shape, but some construction decisions must remain open until the proposed production material is available.
Look at the Pocket Again After Washing
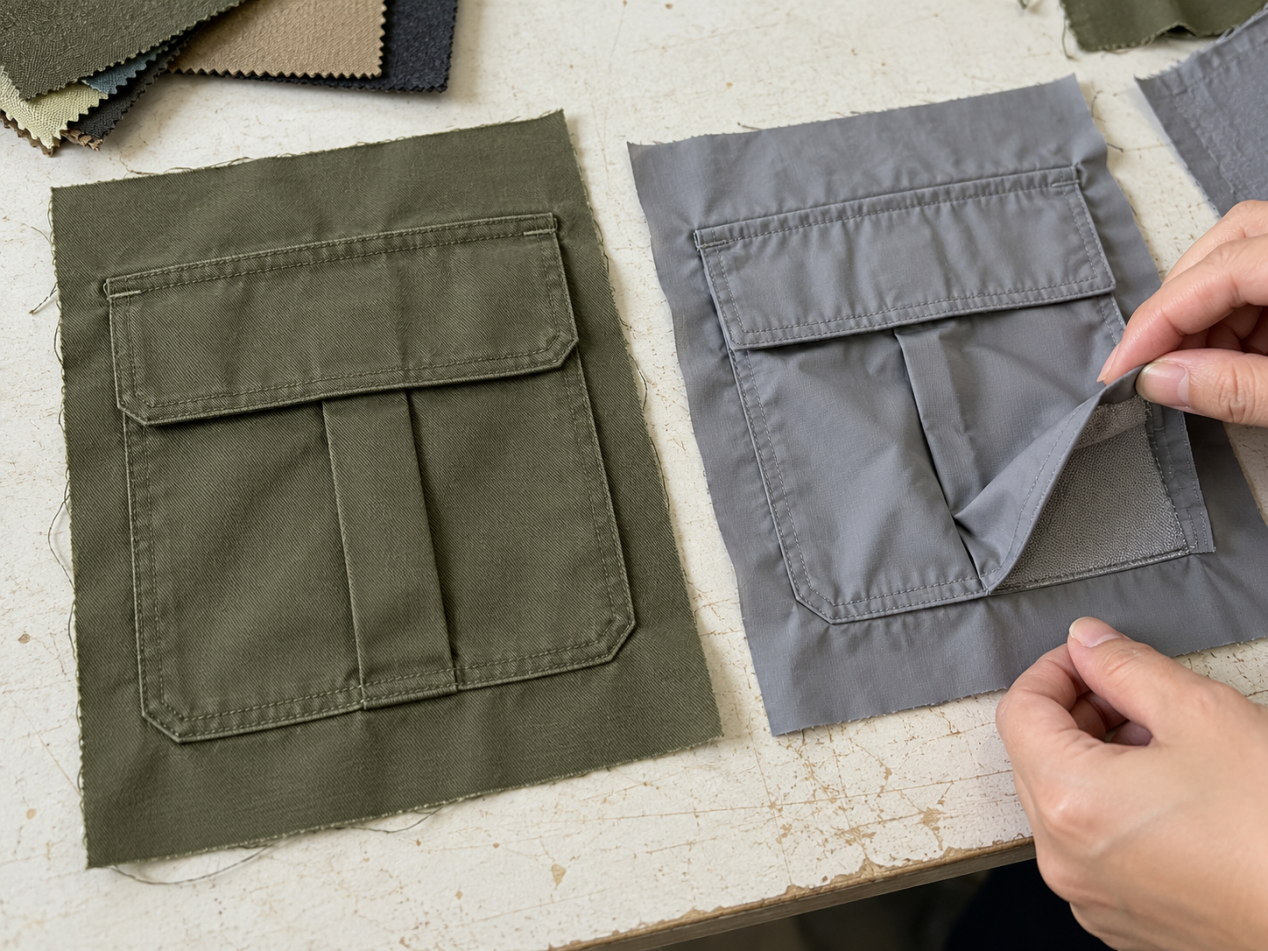
Use the treatment planned for the product. A garment-washed cargo trouser needs checking after that finish; other washable styles need reviewing under the agreed care conditions.
Before washing, measure the pocket and photograph the opening, flap and reinforced corners. Use those same views for the comparison afterwards.
Check the sample after drying and any specified finishing. Look for a curled flap, a wavy opening, puckering around the attachment or changes in the way the pocket sits against the leg.
The materials need to work together through this process. Different dimensional changes in the pocket fabric, backing and thread can affect the finished shape.
Repeat the practical checks as well. Put the intended item inside, close the flap and take it out again.
A small change in shape may have little effect on appearance but make a closure harder to use. That is worth catching before the construction is approved for the full order.
Keep the revision comment specific. “Pocket looks bad after wash” leaves the sample room guessing; a marked photograph showing the curled flap edge gives them something definite to address.
If the construction changes, review the revised version after the same treatment. The result from the earlier sample no longer answers every question.
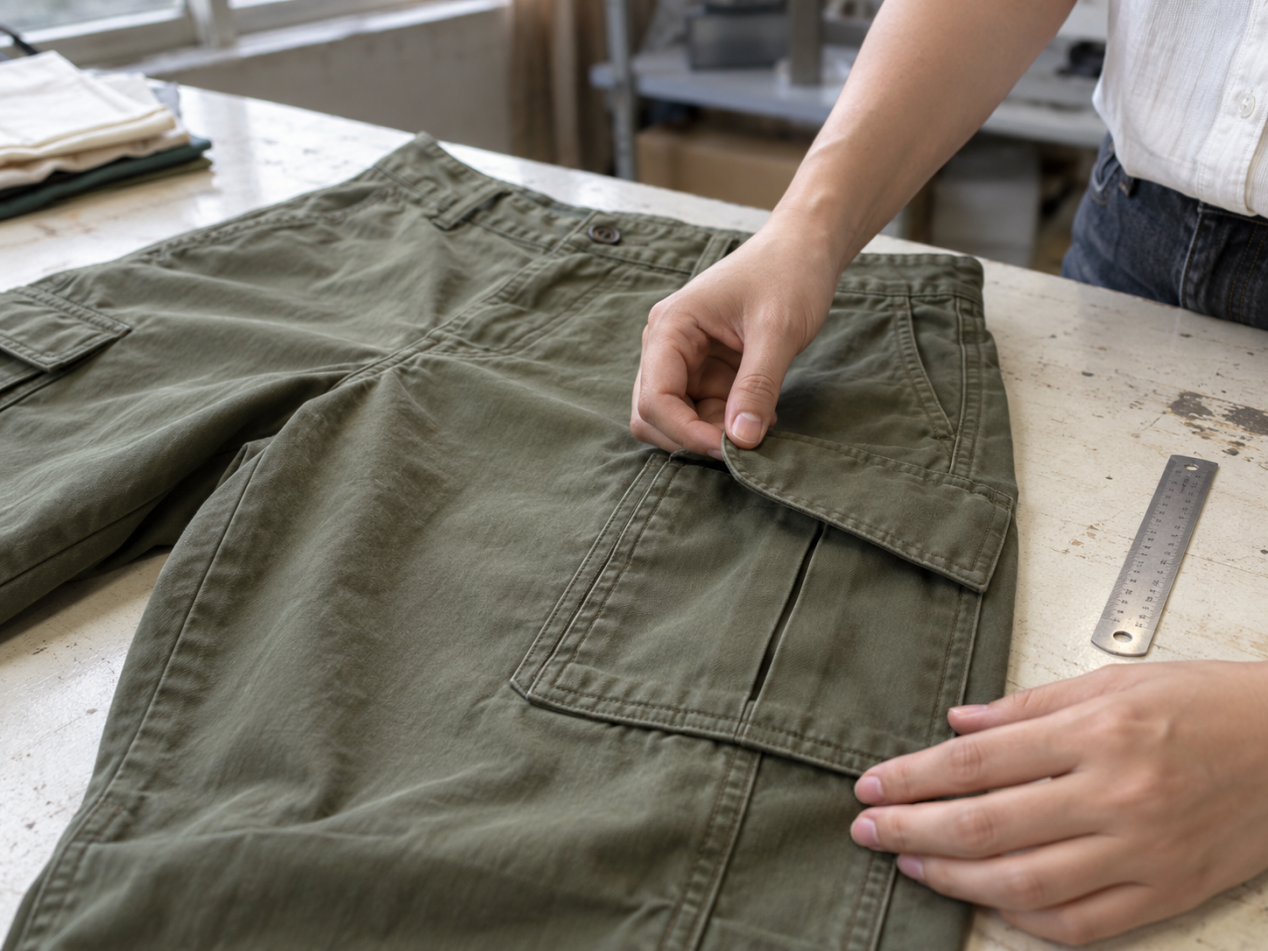
Check More Than the Middle Size
One sample, one size. That’s all the first round gives you. So before anyone celebrates the fit, take that approved pattern and run it up a size — and down one. Then look at the pocket again.
Distance to the knee still right? Can a hand still find the opening? Is it behaving with the side seam the way it did in the base size? Specs can all check out and the thing still sits wrong in a 44.
Another thing people assume: bigger trousers, bigger pocket. Not necessarily. If the pocket exists to hold the same phone, the pocket stays put size-wise. It’s the address that changes.
Unless you meant the oversized look. That’s fine — but then say so, and grade it that way on paper. Otherwise the factory floor will make it up, and they won’t make it up the way you wanted.
Whatever you decide, write it down. Which measurements never move, which ones scale. And if the order has more than one inside leg, those versions need their own placement notes too.
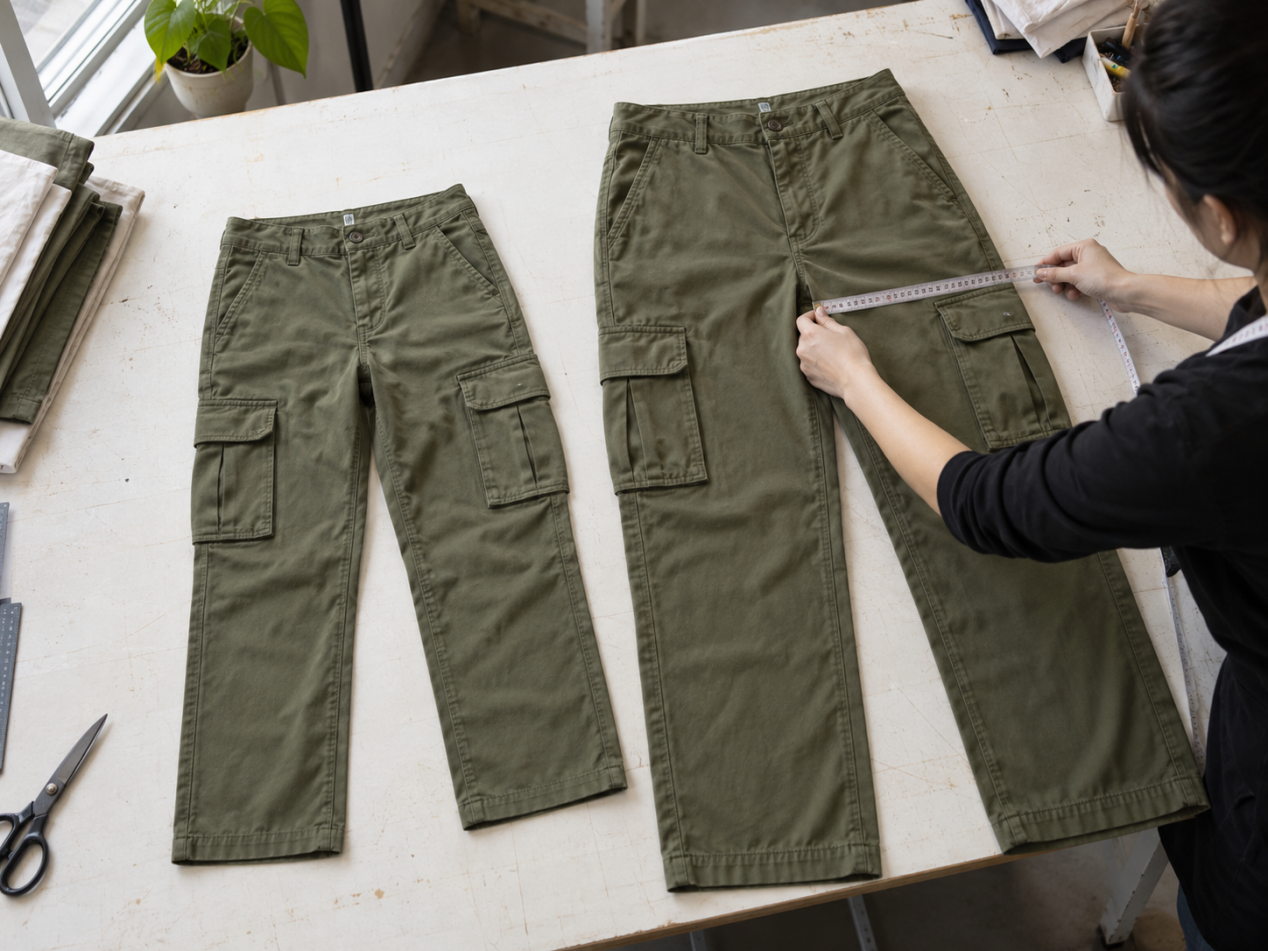
Give Production One Approved Pocket Reference
Before bulk sewing starts, gather everything in one place — the final pocket pattern, the placement measurements, the reinforcement details, the fastening spec. Then check they all say the same version. You’d be surprised how often one sheet says “revised” and another doesn’t.
A revised sample photograph paired with an old measurement sheet can create avoidable confusion. Remove that uncertainty before the first production pieces are made.
Check those first pieces before the sewing run progresses too far. Compare the pocket marking, finished dimensions, attachment and flap position with the approved reference.
For cargo pants quality control, record what was checked and what was found. A note saying pockets OK,is difficult to use if a later inspection finds that one side sits lower.
| Stage | What to check |
| Before pocket attachment | Correct pieces, fabric direction and placement marks |
| First completed pieces | Position, dimensions, intended symmetry and construction |
| During sewing | Opening corners, attachment seams, gussets and fastening alignment |
| After washing or finishing | Shape, measurements, puckering and visible damage |
| Final inspection | Agreement with the approved sample, usable openings and working closures |
If a misplaced pocket needs removing, review the proposed repair on an affected garment first. Some fabrics retain needle marks or become damaged when unpicked.
Check the repaired appearance as well as the new position before using that method on the rest of the affected pieces.
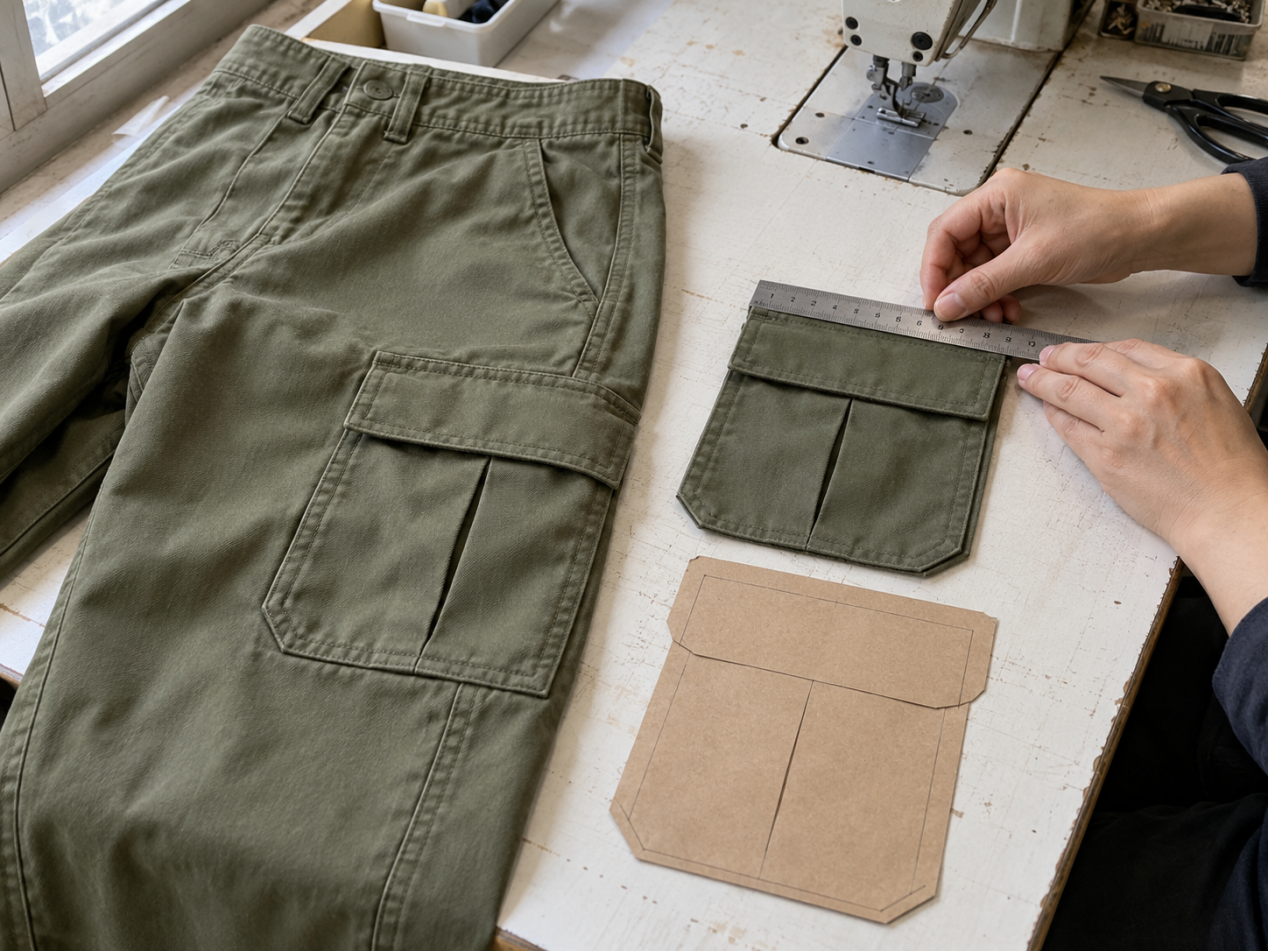
Send the Pocket Details With Your Trouser Brief
For trouser sample development, send the technical drawing or reference sample, proposed fabric and finished garment size chart. Add the pocket measurements and closure details you have already decided.
If the pocket is still taking shape, tell us what it needs to do. A photo of where you want it, the size of the thing it has to hold, a quick note on the fit — that’s plenty for the sample room to get moving.
MRL Apparel can review pocket shape and placement as part of developing your trouser sample. Where a detail needs checking in the proposed material, we can identify what should remain open until that sample is ready.
Send us your cargo trouser tech pack — planned quantities, size range, target delivery date. And if you’ve already got a sample with a pocket problem, don’t just say “fix it.” Send a clear photo and tell us when it shows up: standing, sitting, opening the flap, or carrying the actual item.
Contact Details:
MENG RUOLAN FASHION COMPANY LIMITED
Email:mandy@mrlapparel.com
WhatsApp +86 18825766882
Frequently Asked Questions
1.How far below the waistband should cargo pockets sit?
No fixed number works for every pattern. Get the fit right first, then judge the position with the wearer sitting and bending. Once it looks right, record it from measurement points you can actually name — “side seam at hip level,” not “about here.”
2.How big should a cargo pocket be for a phone?
Start with the phone itself — case included. But the numbers aren’t the answer; the sewn sample is. Check that the opening is easy to get a hand through and the flap still closes with the phone inside. That’s your real approval.
3.Why do cargo pockets stick out?
Could be a lot of things. Pocket shape, a gusset sewn too stiff, fabric with too much body, tension from a tight fit — sometimes just what’s in the pocket. So before you change the co
4.Does every cargo pocket need bar tacks?
Depends on the fabric, how the pocket is attached, and what it’s going to carry. Where bar tacks are specified, don’t approve them on looks alone — check where they sit and what the fabric around them is doing.
5.Can pocket placement change after the first sample?
Of course. Things move once a real body gets involved. Just record the new position properly — measurements plus a marked-up drawing — and check the knock-on effects: access, pleats, neighbouring pockets, knee clearance.
6.What should be approved before bulk production?
The whole pocket, basically. Pattern, placement in every size, usable dimensions, flap, fastening, reinforcement. Then the wash or performance results for whatever applies. And make sure the final sample and the production instructions are the same revision — you’d be amazed how often they aren’t.
Post time: Oct-16-2026


