

Lace Tops: How to Check Lining, Seams, and Pattern Placement
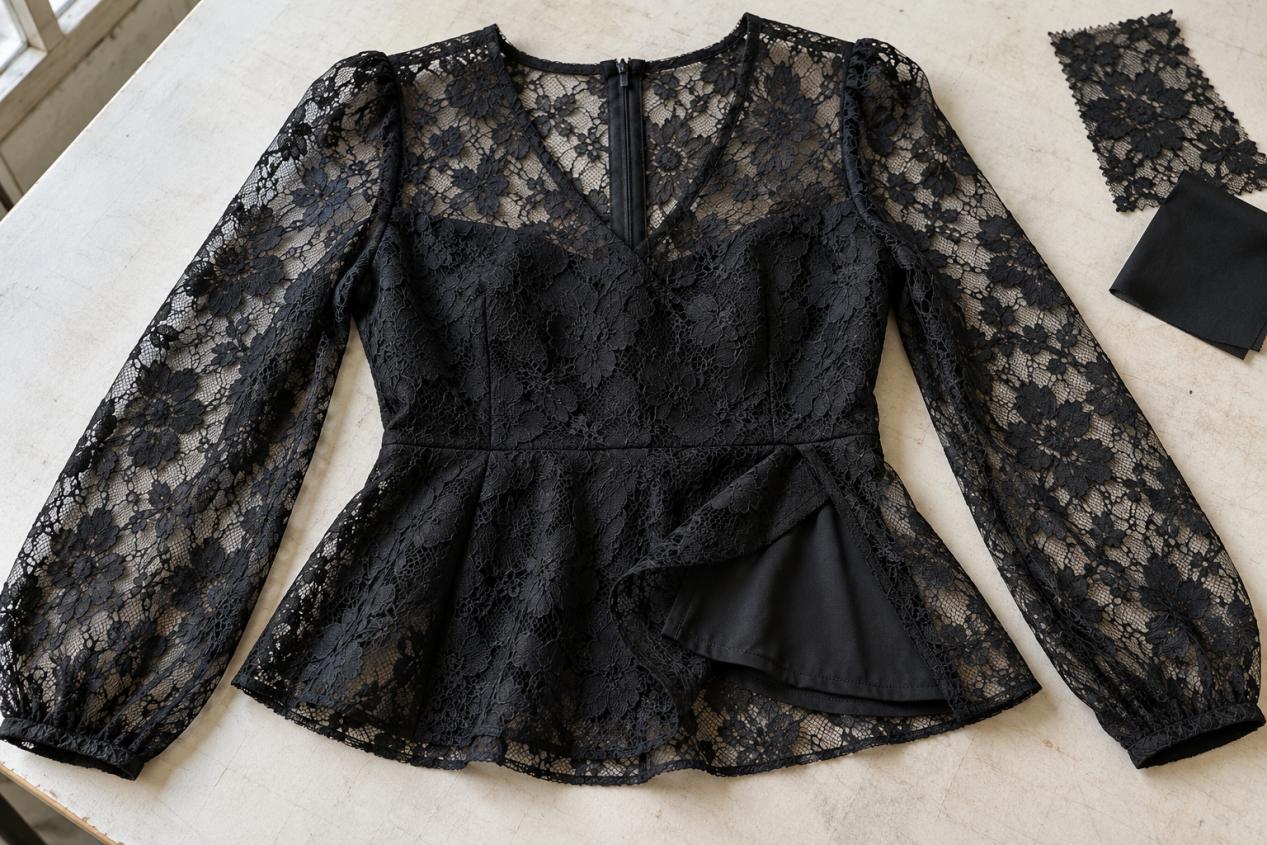
Photos flatter lace tops. The flowers look crisp, the neckline sits flat, the lining colour seems right — everything reads fine on a screen. Then the sample arrives, and it starts talking back. The lining flashes when you move your arms. A sleeve seam rubs. One big flower lands exactly where you wanted the skin to show.
Honestly, this is the stage where fixes are cheap. Wait until the layout is signed off and the same change costs you time and money you didn’t plan to spend. So before you approve a lace tops sample, don’t just look at the overall look — check how the lace and lining move together, and decide which details need to stay identical across the whole order.
And start with what’s in your hands. Turn it inside out, put it on, and keep the swatches next to you.
Check What the Lining Covers—and What It Leaves Sheer
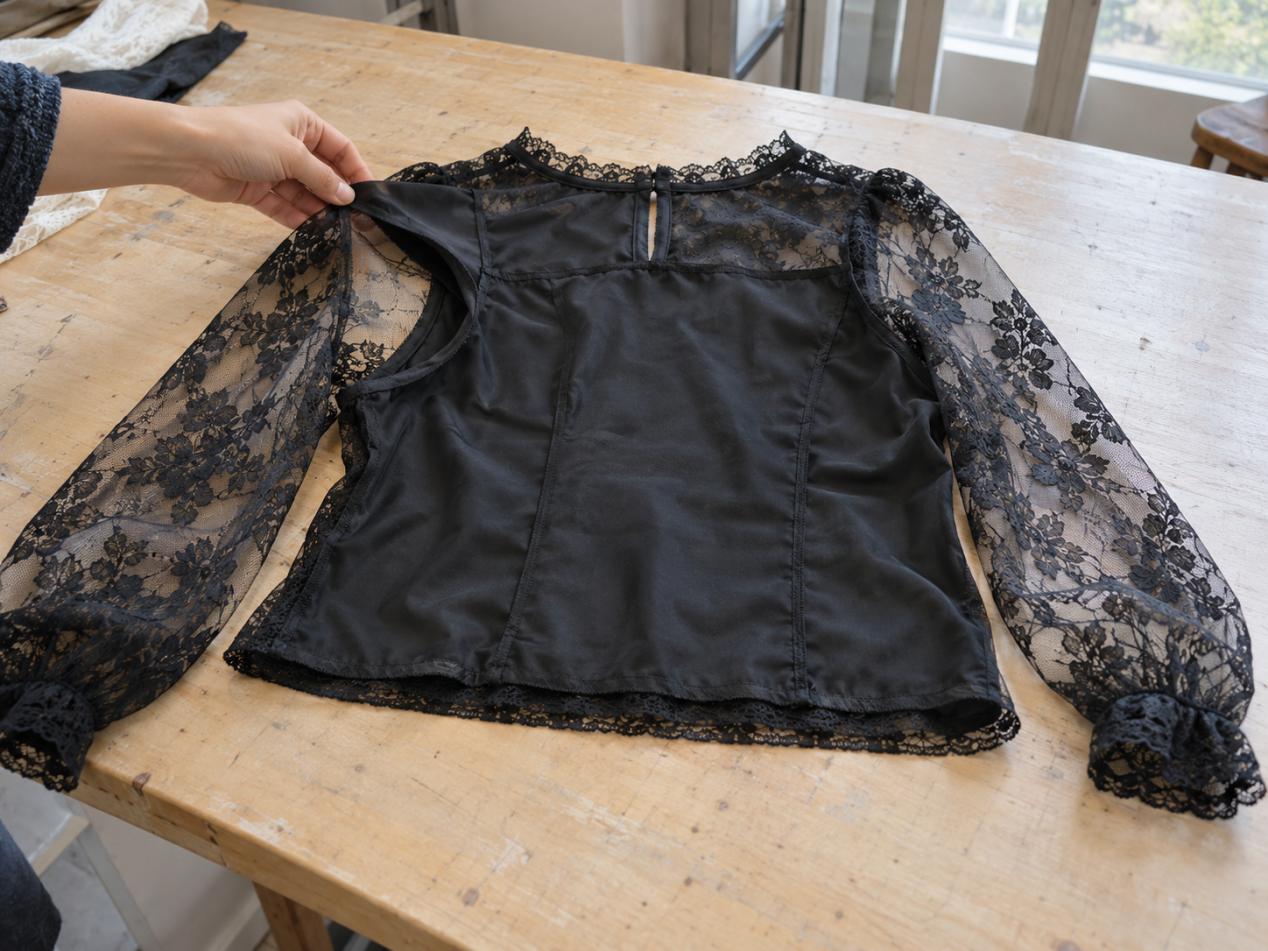
Line the body, leave the sleeves sheer” sounds simple enough. But it leaves a lot unsaid — the shoulders, armholes, neckline and back all still need an answer.
So look at the sample from both sides. Does the lining actually cover what your design shows? And where the lining ends — is that edge a line you’d be happy to see through the lace?
A straight lining neckline under a shaped lace one can change the whole look. Same thing at the back: a high lining edge can cover up a detail that was supposed to stay sheer.
Mark the intended coverage on your front and back drawings. If a section is meant to stay unlined, show it — don’t leave the sample room guessing.
A separate camisole is a different story. Check the straps, neckline and length under the outer top, then have someone reach forward and raise their arms to see if it stays put.
What matters in the end is whether the finished combination gives you the coverage and movement your design needs.
Choose the Lining with the Lace Beside It
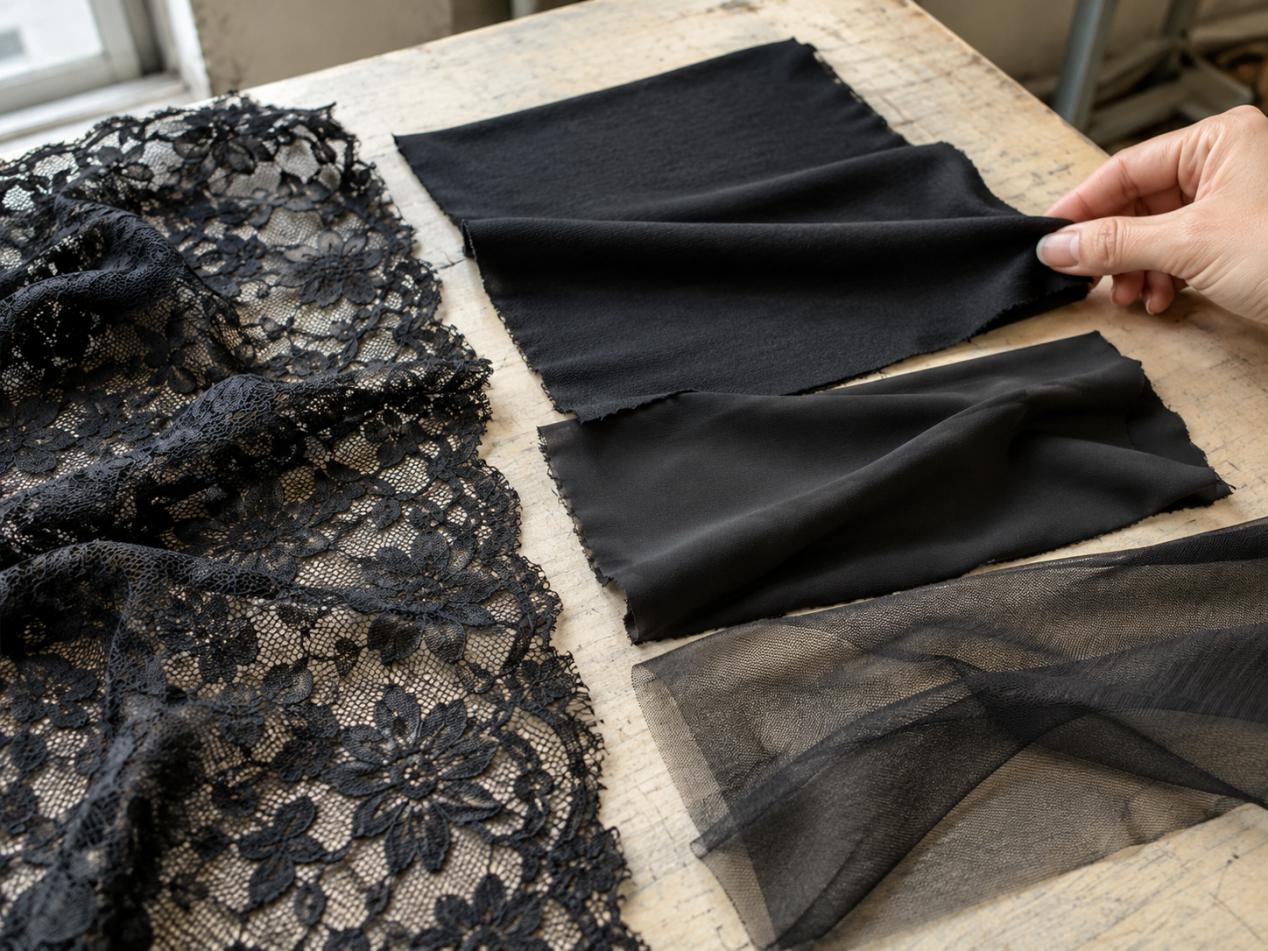
A soft lining swatch doesn’t tell you much on its own. You need to see it behind the lace, on the actual sample.
Choosing lining fabric for lace tops is about the fit as much as the fabric itself. A fitted stretch-lace top and a loose woven blouse won’t want the same inner layer — that’s fine, just don’t assume one lining works for both.
If the lace has stretch, the lining needs to stretch too. Otherwise the whole top gets held back at the fitting, even when the lace has plenty of room.
Reach forward. Bend your elbows. Sit down. If something pulls, tell the sample room to find where it starts before you jump to making the whole top bigger.
Thickness is the other thing. A heavier lining covers more, sure. But it can also kill the drape, or bunch up at a gathered waist or armhole.
Narrow it down from the material descriptions if you like — just don’t make the final decision until you’ve seen the two fabrics together.
|
Lining option |
What to look at in the sample |
| Stretch jersey or tricot | Movement, recovery, cling and coverage |
| Lightweight woven lining | Ease through the body, drape and bulk at seams |
| Stretch mesh | Whether the finished top remains more sheer than intended |
| Lightweight satin | Surface shine, weight and how it hangs beneath the lace |
Keep the approved material reference with the sample. Use the same soft lining,is difficult to follow if several similar fabrics have been discussed.
Look at the Colour Through the Lace
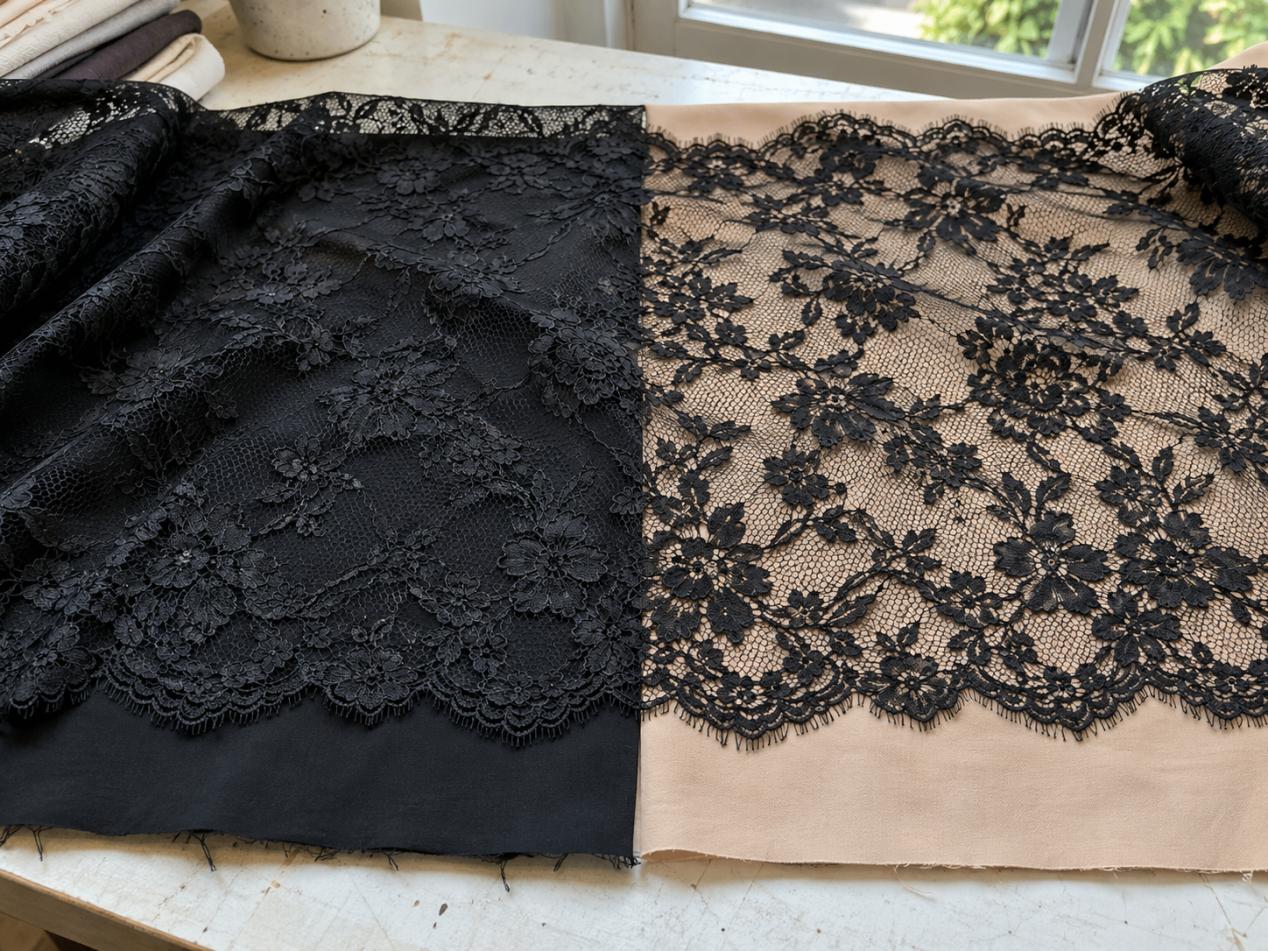
The lining ends up being part of the colour you see. A close shade softens the floral pattern; a contrasting one makes the openings and outlines stand out.
So check the lace top lining in daylight and in normal indoor light. Judge it as a single layer on the actual garment — a folded swatch tells you nothing about opacity.
With a pale top, the risky spots are the ones with bigger holes. Over a dense floral the coverage can look totally even — then two centimetres away it’s a different story.
Don’t sign off a lining just because the swatch card says “nude” or “cream.” Names lie. Keep a physical colour reference on file so everyone is working to the same shade.
Same goes for multi-colour orders. Check each lace-and-lining combination separately — one approved pairing tells you nothing about the rest.
Watch the Lining Edge When the Sample Moves
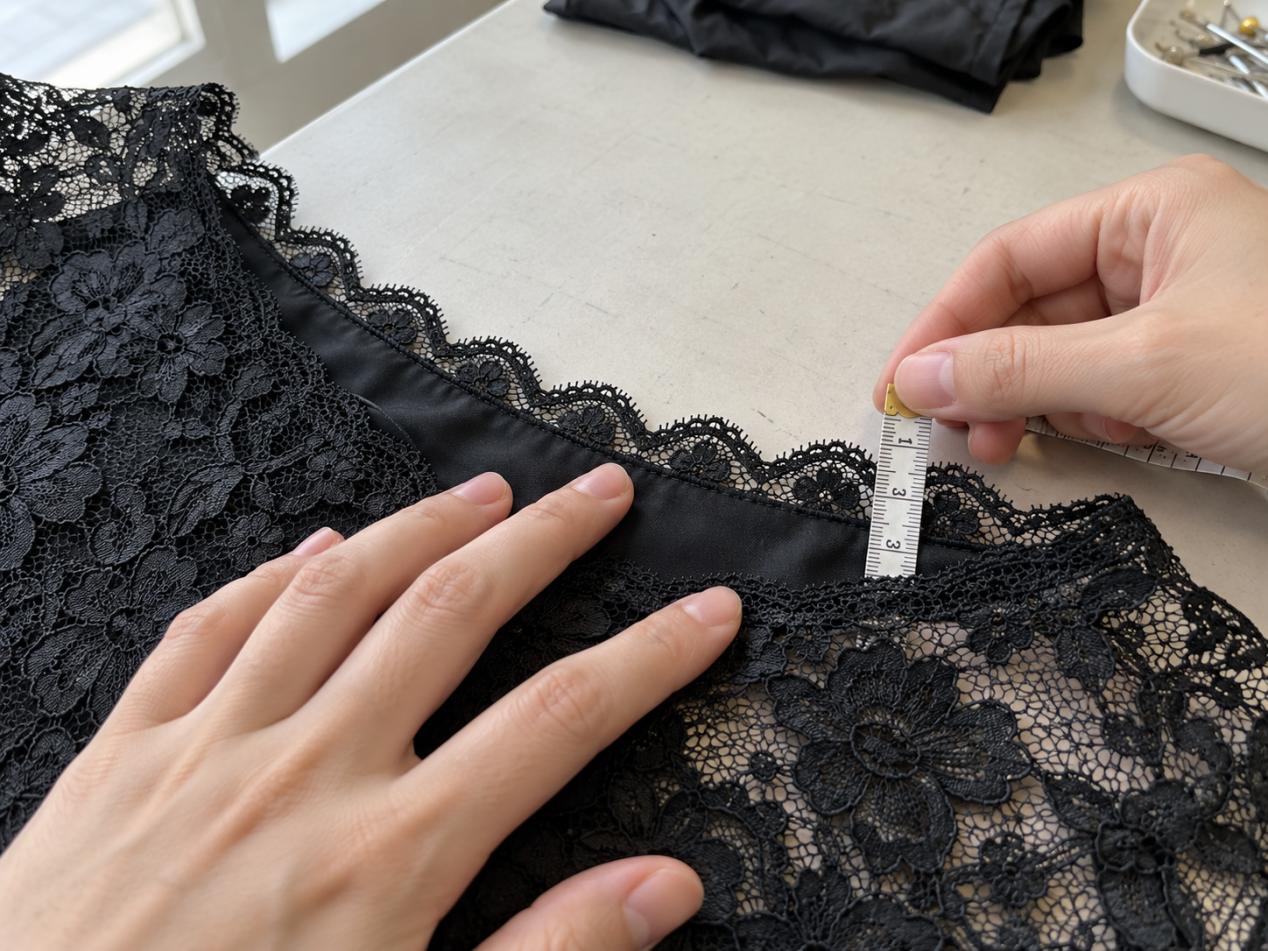
A neckline can sit beautifully on the table and still flash lining the moment someone puts it on. So check it again after the wearer reaches forward and lifts their arms.
At a scalloped edge, decide how much lace you want showing past the lining. At a crossover front, make sure the inner layer follows the opening you designed — not a second neckline you never asked for
When you write the revision, be specific. “Lower the lining by 10 mm at the marked centre-front point” tells the sample maker exactly what to do. That measurement should come from your design, not off a standard chart.
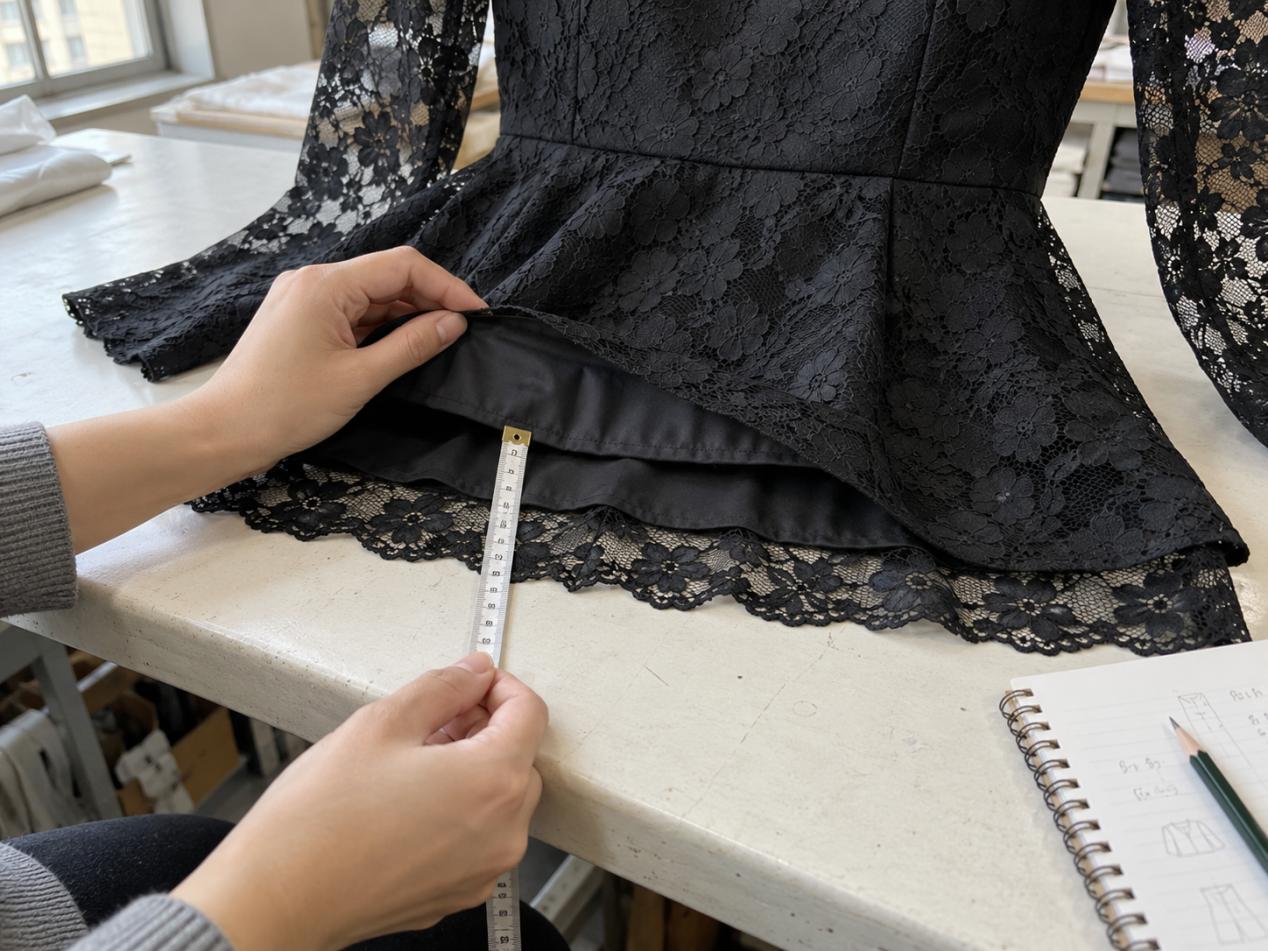
Do the same at the hem. If the lining is meant to stop above the lace border, write down where — and watch that it stays put when the wearer moves.
Then flip it inside out. If the two layers are twisting or bunching, or one is pulling the other out of shape, something in the attachment, the dimensions or the materials needs another look.
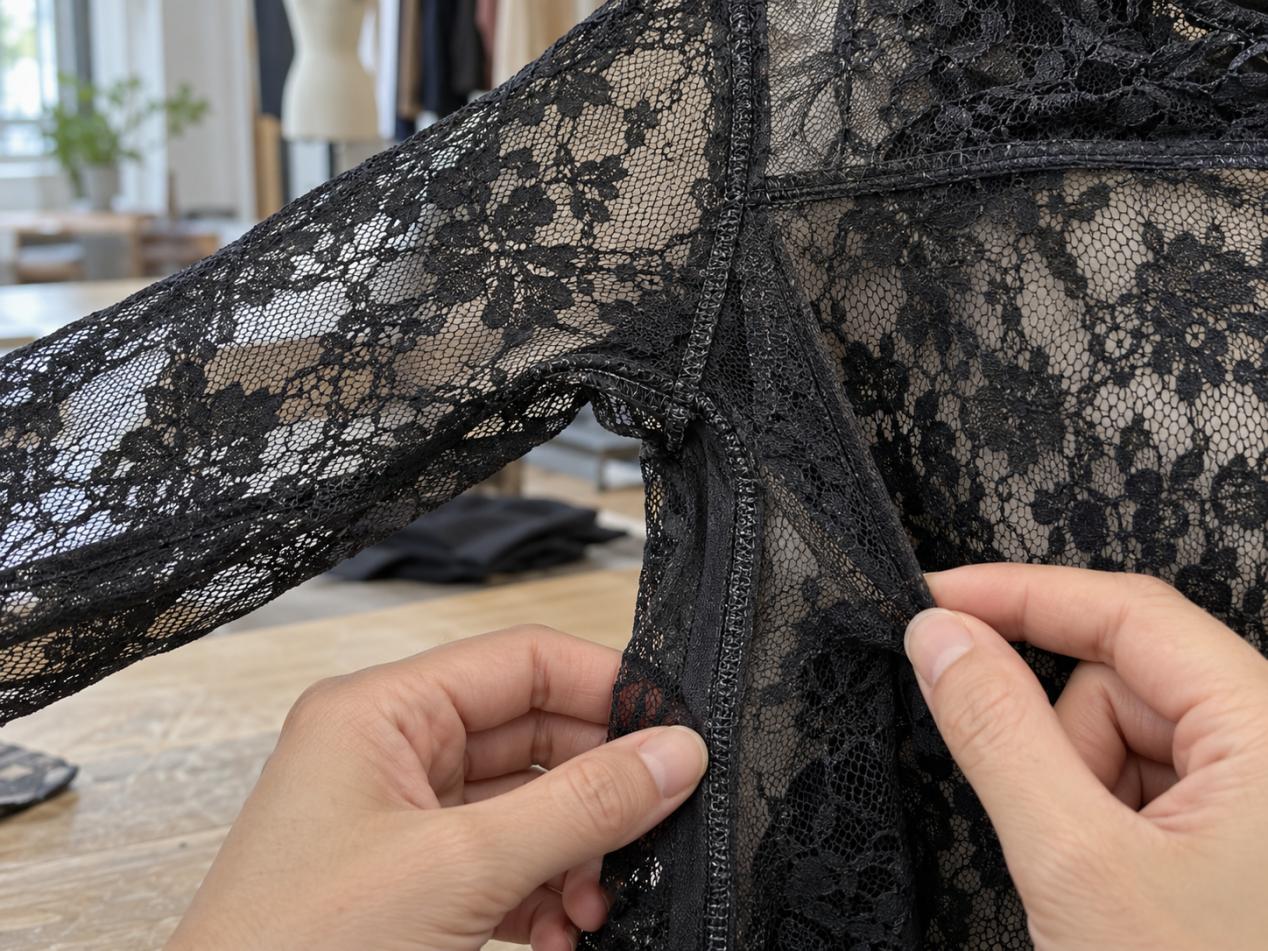
Turn the Top Inside Out Before Approving the Seams
Start with the underarms, shoulders and side seams. That’s where sewing quality shows — and how the finish actually feels against the body.
Look for skipped stitches, damaged mesh, loose threads and cut edges that aren’t properly caught. Then run your fingers along the inside. Rough or bulky spots don’t always show in photos, but you’ll feel them straight away.
Flip it over and look at the lace seam construction from the outside too. A seam can be rock solid on the inside and still show a chunky allowance through the fabric — especially on something this fine.
If something puckers, don’t just point at the wrinkle. Mark where it is and ask for a trial sew-up in the real fabric. The cause could be tension, feeding, the material itself — you’ll only know by testing.Thread tension, feeding, the fabric itself — a few things can cause it, so the wrinkle alone won’t tell you what to fix.
Pressing can make a puckered seam look fine for an hour. Check it again after finishing, and after the agreed care process if there is one.
At the fitting, watch what happens around the stitching — not just at it. If the lace gapes or twists at the underarm when the arm moves, that’s a fit and construction question. The sample room needs to look at both together.
And please, not “make the seam stronger.” That tells nobody anything. A useful comment says
where it is, attaches a close-up, and describes what happened when someone actually wore the thing.
Before you close the comment, ask for a photo of the inside. The front view alone won’t show you
whether the fix worked.
Decide Which Flowers Need to Stay in Place
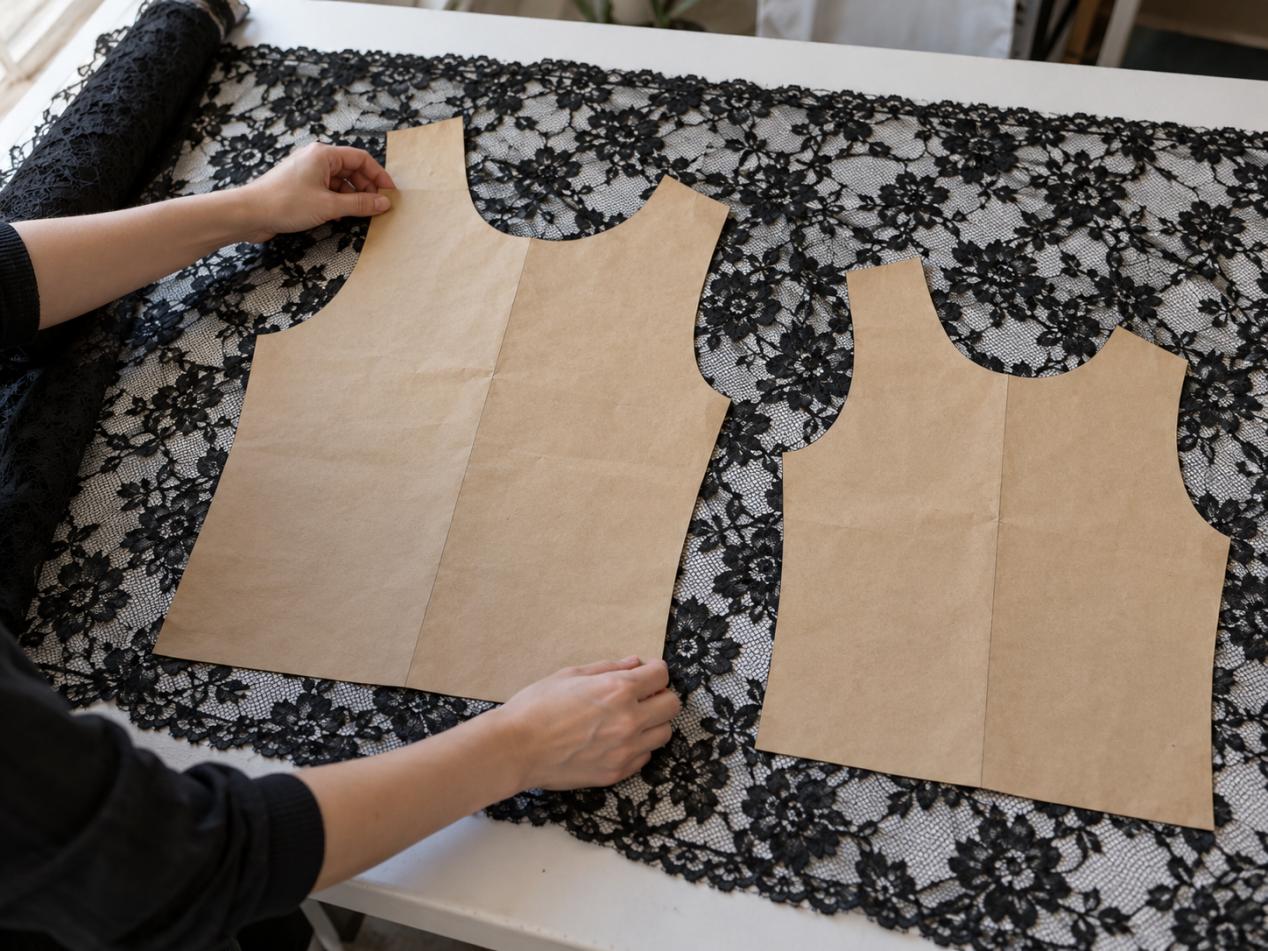
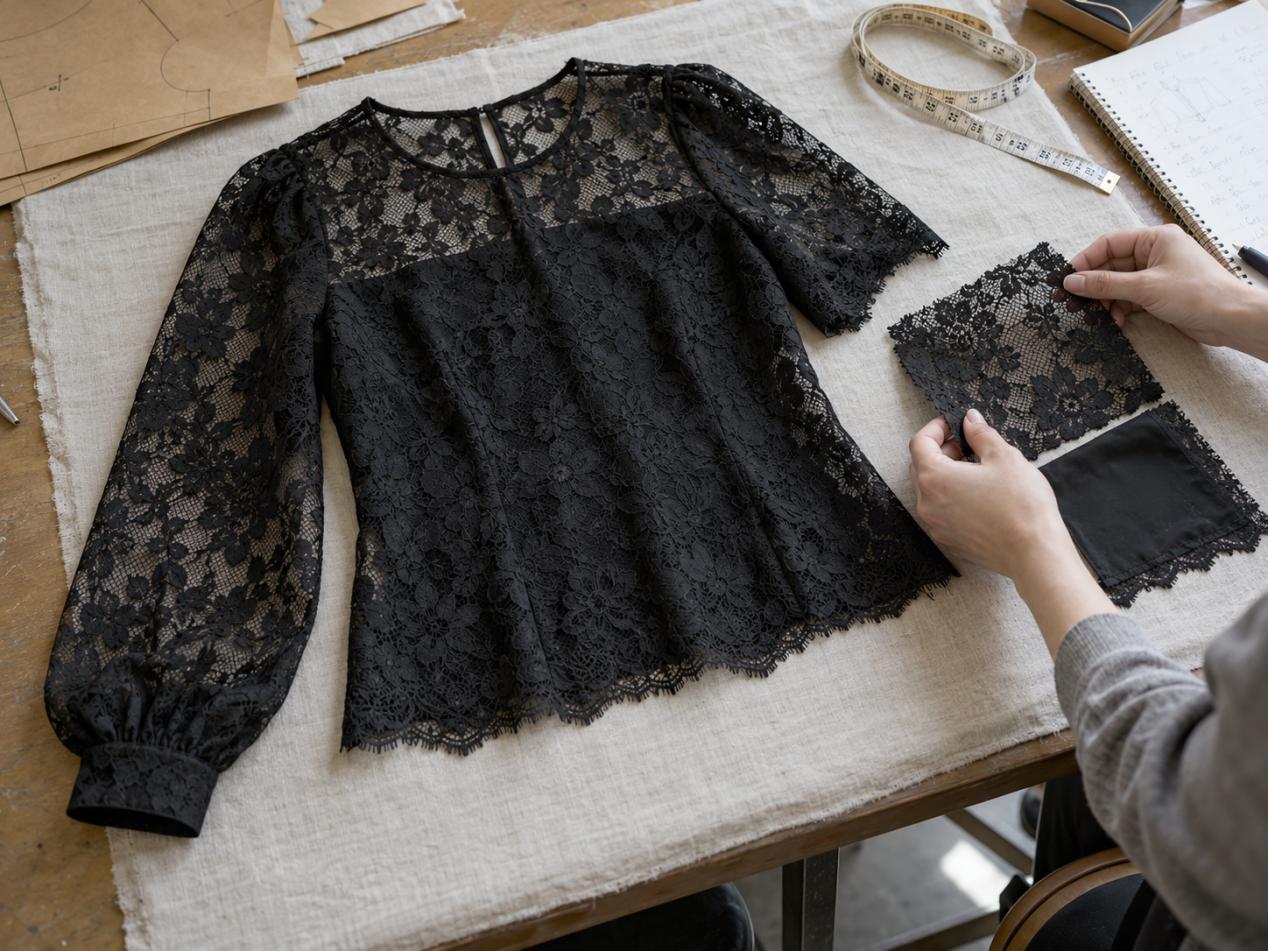
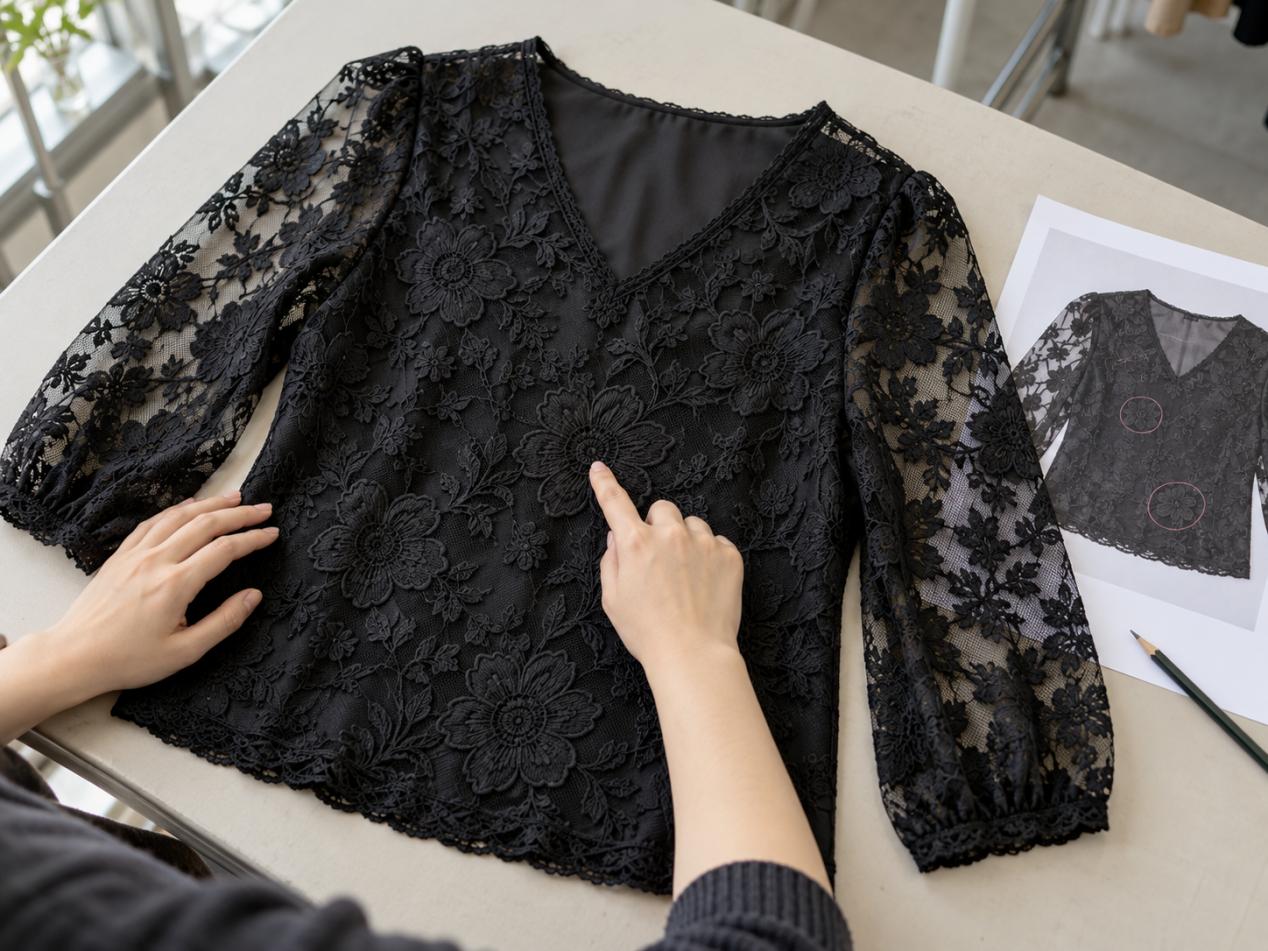
Lay the floral lace blouse flat and take it in as a whole first — before you start picking at individual seams. Look at the centre front, the neckline, and where the bigger flowers land around the bust.
A motif can be cut perfectly and still sit in the wrong place for your design. If a flower needs to move, mark the spot you want directly on the sample photo.
Be clear about symmetry too. Some designs want matching motifs on both sides; others actually look better with a bit of variety.
Sleeves get the same decision. If you want similar flowers showing near the cuffs or upper arms on both sides, say so in the cutting instructions.
Not every side seam needs the florals to line up. Decide which details are worth controlling and where you’re happy to let it vary.
This is also the moment to talk cost. Strict lace pattern placement can squeeze the cutting layout and push up fabric use — so the supplier needs your requirements before they can confirm consumption and give you a quotation.
Scalloped edges are worth a note of their own. If the lace’s own edge is doing the job — neckline, cuffs or hem — show that clearly. And once a treatment is approved, photograph it and keep the photos with the file.
Ask What Changes Across the Size Range
The approved sample is only one size. Grade it up or down and the front panel gets wider, the sleeve gets longer — and suddenly the key flower lands somewhere else in the repeat.
So ask how the important placement points will be handled across the range. Maybe the centre-front flower stays put while motifs near the side seams shift. You want to know that before, not after.
If the design hangs on one big motif, ask to see another size, or the proposed layout for one. That’s a much safer basis for approval than hoping every size will look like the first sample.
Check scalloped hems and cuffs while you’re at it. If the lace’s own border is forming the edge, agree how that’s going to work with the finished measurements.
Record the variation you accept. A photograph with a short note is clearer than“match the sample”when the other sizes cannot follow every flower in exactly the same position.
Review the Sample After the Agreed Care Process
First agree on how the garment will actually be cared for — that’s what you’re testing against. And remember you’re testing the whole thing: lace, lining and trims together, not three separate fabrics.
Then compare the sample before and after. Look at the neckline, how the seams sit, the body measurements, and whether both layers have changed length.
Watch the hem in particular. If the lining starts to peek out or pulls up underneath, something has shifted — one material shrinking or stretching can throw off how the whole top hangs.
Write down the conditions and what you observed, and keep it with the sample reference. If the order needs proper lab testing, agree on the method and acceptance criteria separately.
A care review can absolutely flag a real problem worth fixing. Just don’t call it a lab result unless the testing actually happened in a lab.
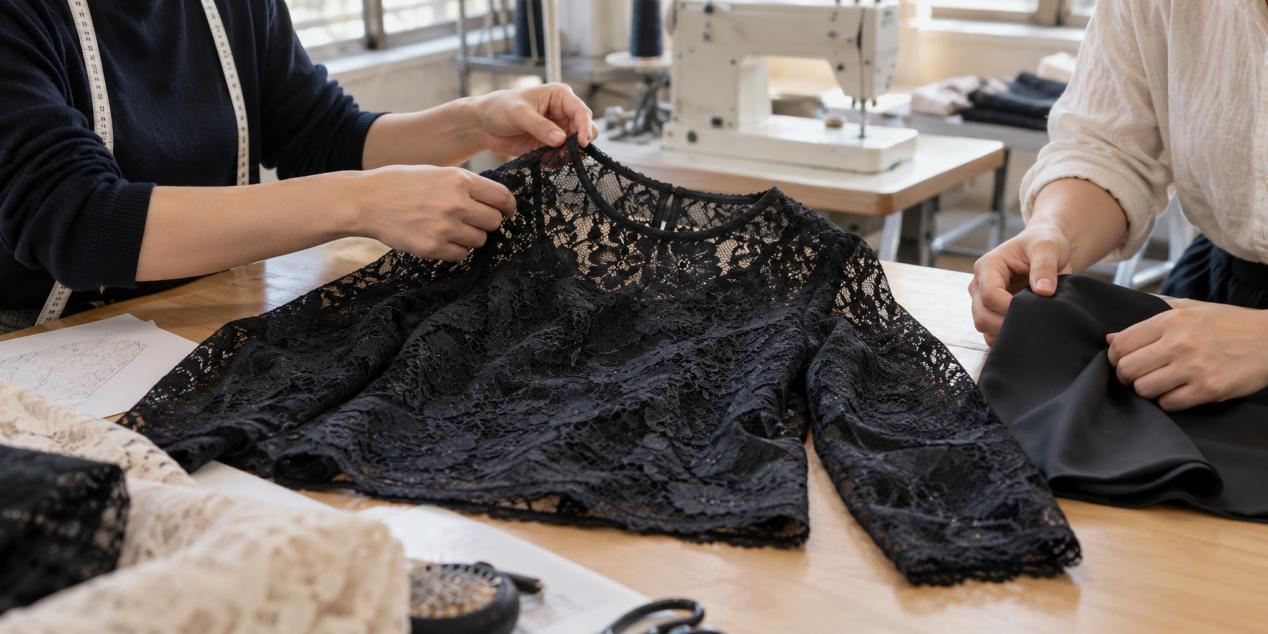
Keep One Clear Version for Bulk Approval
Before final confirmation (approval), please verify that the sample garment is consistent with the relevant documents – ensure that the style and version are completely matching.The lace pattern, lining color, edge position, sewing technique and all dimensions and specifications must be precisely matched.If the sample garment uses alternative fabrics, it is essential to clearly record the specific specifications that have been approved.Just by using sample garments made with alternative lace materials for trial wear, it is impossible to confirm the final appearance or performance of the fabric used for the bulk production.The recorded content should be concise and practical, while also being detailed enough.So as to address those issues that, if not clarified, might cause disputes during the production process.
| Detail | What to keep with the approved sample |
| Lace and lining | Material references, compositions and approved colours |
| Coverage | Front and back drawings showing lined and sheer areas |
| Lining edges | Agreed neckline, armhole and hem positions |
| Seams | Close-up photographs of the approved inside finishes |
| Floral placement | Fixed motifs and permitted variation |
| Sizes | Final measurements and placement notes across the range |
| Care requirements | Agreed process and applicable review or test results |
For private label orders, review the label positions as well. A label behind a sheer panel may be visible from outside, so its location belongs in the sample comments.
Questions About Lace Top Sampling
1.Can the body be lined while the sleeves stay sheer?
Yes, that’s no problem. Just spell out where the lining goes — shoulders, front, back and armholes — and we’ll check how it transitions into the sleeves at the fitting.
2.Does stretch lace always need stretch lining?
Not necessarily. What matters is that the inner layer allows the movement your design needs. That depends on the material itself and how much ease is in the pattern.
3.Does every flower need to match?
No. Mark the placements that matter to the design, and agree upfront where natural variation is fine — before the cutting layout is prepared.
4.Can we change the lace after approving the sample?
You can, but it needs another look. A different stretch, motif size, transparency or border detail can affect the fit and construction you already signed off on.
5.Have a lace top sample that needs another look?
Send MRL Apparel your design, size chart and lace reference, plus any notes on lining coverage or flower placement. For clothing sample development, photos of the inside are just as useful as front and back views.
Already have a sample in hand? Mark the details you want changed and include the relevant measurements. We can go over what the next sample needs to show before you approve the style for production.
CTA button: Discuss Your Lace Top Project
Contact Details:
MENG RUOLAN FASHION COMPANY LIMITED
Email:mandy@mrlapparel.com
WhatsApp +86 18825766882
Post time: Oct-14-2026


